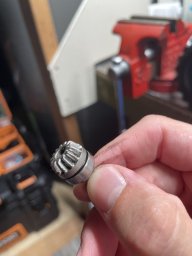
Aluminum hubs for the Prolines came in...mmm...

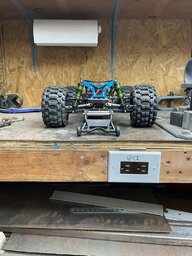
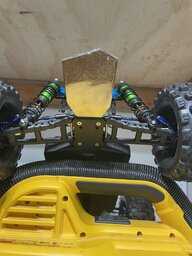
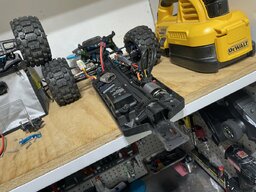
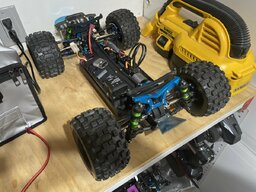
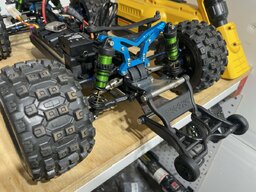
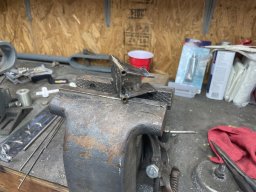
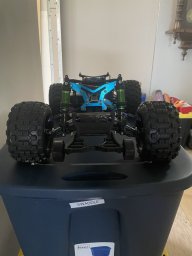
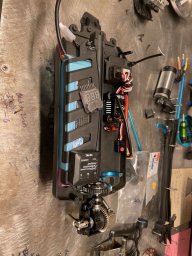
What to do after FINALLY getting this thing working again after being depressed looking at a shelf queen and seemingly insurmountable project for months? Tear the rear apart, duh! Took a couple pics for reassembly reference.


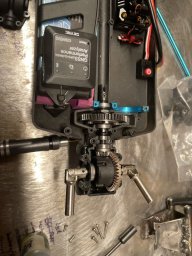
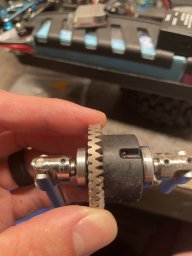
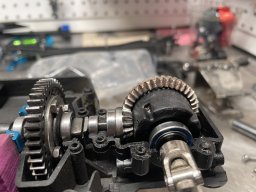
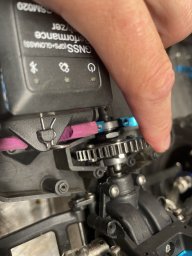
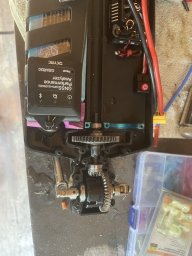
stock rear guts

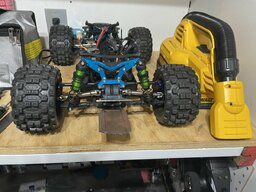
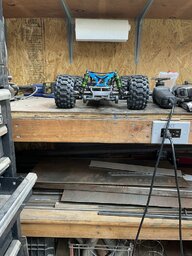
I have the benefit of having that other rear prepared clean and ready to drop in, so lazy me is going to use a new housing too I'll bag the old one and clean it later. More of me just trying to justify that huge lot of 4WD parts I purchased.
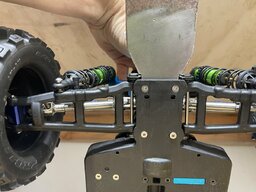
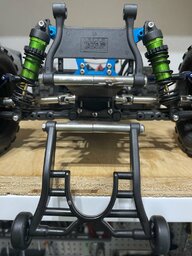
Just quickly looking at the RPM arms versus the stock ones I'm going to have to do the same thing I did in the front of the vehicle, so I just checked to see if I had the room to move the front pin brace forward instead of the rear pin brace backward (into the rear bumper). No go, sorry.

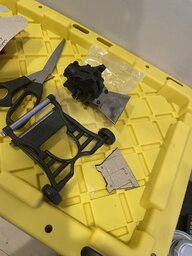
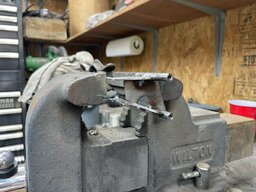
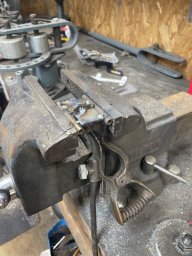
The next issue is during disassembly I came across this...I verified they were installed correctly, and there's no adjustability. I mentioned before in some top down shots and when I aligned it that there was some rear toe in, but it seems to drive okay like that. Honestly when I took the stock stuff off I didn't measure the rear toe, but I save everything that's not blown to smithereens so I dug up the old pin braces and all 4 stock ones are the same length...because they are adjustable. They use inserts that can be run in 4 different orientations (per side) to give different toe settings. Not really sure why you'd want to run either of the top settings. There is an arrow that indicates the position of the pin from the outside (viewable side). Comparison pic, HR units next to stock ones front down and in rear down and out next to stock ones both front and rear down and out (zero toe). HR ones overlay the stock ones perfectly. I considered just ordering up a second set of the HR ones and mix and match, but the pin holes in them are actually drilled on the needed angle so that wouldn't work.
The hubs I ordered (2 different sets) can impact rear toe, so I found some info on the slash 4x4. So ideally I would like to set this up with 2.5* toe in.


With both adjusters pointing down and in, pin to pin is 43.3mm outer 37.5mm inner (40.4mm center of pin to center of pin). With both adjusters pointed down and out, pin to pin is 47.7mm outer 41.9mm inner (44.8mm center of pin to center of pin). Pin length installed is 41.0mm between the pin braces, but the LCA is 41.5mm wide so we will go with that. So that makes for a right triangle with one side 41.5mm and the base 2.2mm (half of the two center to center difference). So tangent of the toe angle is 2.2/41.5. So, 3.03 degrees of toe in if I did my trig right. Somewhere a teacher from 20 years ago is proud.
What to do after FINALLY getting this thing working again after being depressed looking at a shelf queen and seemingly insurmountable project for months? Tear the rear apart, duh! Took a couple pics for reassembly reference.
stock rear guts
I have the benefit of having that other rear prepared clean and ready to drop in, so lazy me is going to use a new housing too I'll bag the old one and clean it later. More of me just trying to justify that huge lot of 4WD parts I purchased.
Just quickly looking at the RPM arms versus the stock ones I'm going to have to do the same thing I did in the front of the vehicle, so I just checked to see if I had the room to move the front pin brace forward instead of the rear pin brace backward (into the rear bumper). No go, sorry.
The next issue is during disassembly I came across this...I verified they were installed correctly, and there's no adjustability. I mentioned before in some top down shots and when I aligned it that there was some rear toe in, but it seems to drive okay like that. Honestly when I took the stock stuff off I didn't measure the rear toe, but I save everything that's not blown to smithereens so I dug up the old pin braces and all 4 stock ones are the same length...because they are adjustable. They use inserts that can be run in 4 different orientations (per side) to give different toe settings. Not really sure why you'd want to run either of the top settings. There is an arrow that indicates the position of the pin from the outside (viewable side). Comparison pic, HR units next to stock ones front down and in rear down and out next to stock ones both front and rear down and out (zero toe). HR ones overlay the stock ones perfectly. I considered just ordering up a second set of the HR ones and mix and match, but the pin holes in them are actually drilled on the needed angle so that wouldn't work.
The hubs I ordered (2 different sets) can impact rear toe, so I found some info on the slash 4x4. So ideally I would like to set this up with 2.5* toe in.
- The Traxxas Slash 4x4 has 2.5 ° of toe built into the rear bulkhead.
The stock plastic carriers have 0 ° of toe.
The aluminum carriers have 1.5 ° of toe.
2.5 ° + 0 ° plastic carriers = 2.5 °
2.5 ° + 1.5 aluminum carriers = 4.0 °
2.5 ° + reversed aluminum carriers (-1.5 °) = 1 °
Reversing the plastic carriers does nothing. You will still have 2.5 °
With both adjusters pointing down and in, pin to pin is 43.3mm outer 37.5mm inner (40.4mm center of pin to center of pin). With both adjusters pointed down and out, pin to pin is 47.7mm outer 41.9mm inner (44.8mm center of pin to center of pin). Pin length installed is 41.0mm between the pin braces, but the LCA is 41.5mm wide so we will go with that. So that makes for a right triangle with one side 41.5mm and the base 2.2mm (half of the two center to center difference). So tangent of the toe angle is 2.2/41.5. So, 3.03 degrees of toe in if I did my trig right. Somewhere a teacher from 20 years ago is proud.
Attachments

Last edited: